
Installation based on Kodi 17.6
1.1. Repository installation (recommended):
Thanks to repository you will have ability to ‘auto-update‘ this plugin.
- Download .zip file with Nakamori repository (#link)
- Run KODI
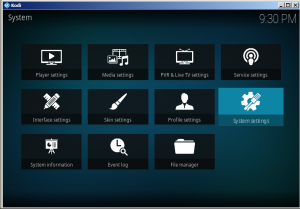
- Navigate: Setting (big white gear under Kodi logo) > System settings > Add-ons
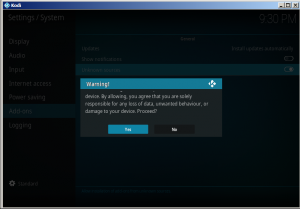
- Enable “Unknown sources”, pick “Yes” in warrning window
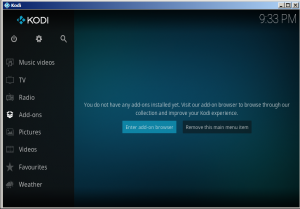
- Go to Add-ons in Kodi Main Menu and pick “Enter add-on browser”
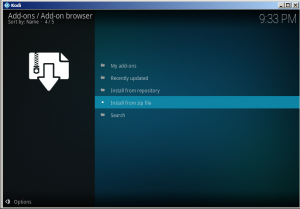
- Pick ‘Install from zip file’
- Browse for the zip you downloaded in the first step and click ‘OK’
1.2. Nakamori installation from repository:
- Run KODI (if its not running)
- In Kodi Main Menu pick “Add-ons” from left bar
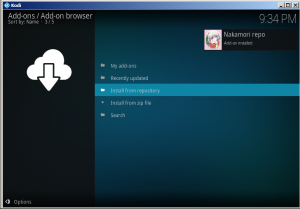
- Pick ‘Install from repository’
- Select ‘Nakamori repo’
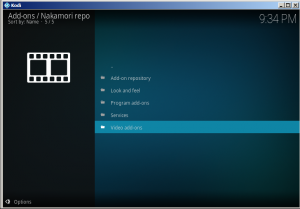
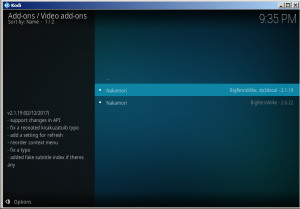
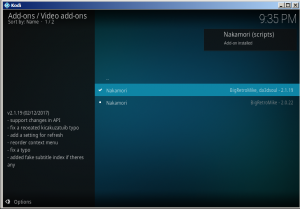
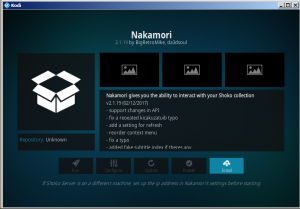
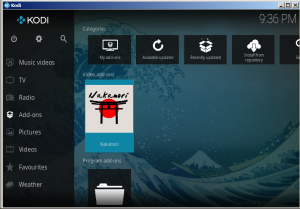
- Enter ‘Video add-ons’ and pick ‘Nakamori’ (latest version)
- All needed libraries that Nakamori use will download and install automatically
-
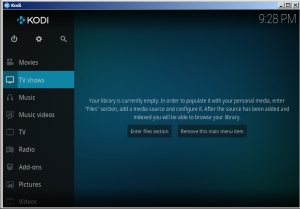
- kodi default window
-
- system settings
-
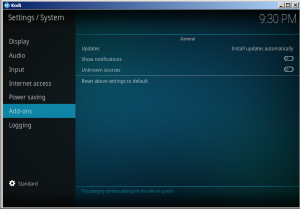
- addon settings
-
- enable source
-
- add addon
-
- install repository from zip
-

- pick repository zip file
-
- install from repository
-

- install from nakamori
-
- video addon category
-
- install latest version
-
- installing needed libraries
-
- install addon
-
- nakamori installed
2. Manual installation (not recommended):
Each time Nakamori will be upgraded you will have to do this again.
If you don’t want ‘auto-update’ you can always turn it off in Add-on settings.
- Download .zip file with Nakamori plugin from GitHub (#link)
- Run KODI (if its not running)
- In Kodi Main Menu pick “Add-ons” from left bar
- Pick ‘Install from zip file’
- Browse for the zip you downloaded in first step and click ‘OK’
- (Optional) You will need to update one or two libraries that Nakamori use also by hand nakamori.script and nakamori.service